|
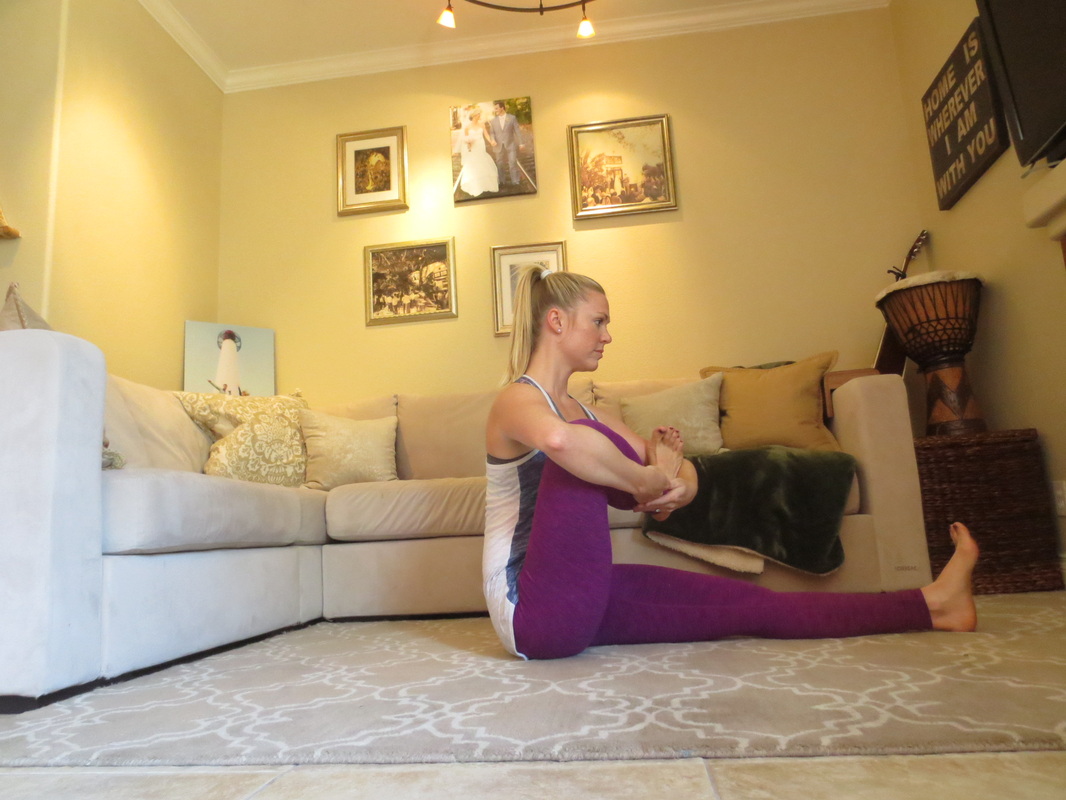
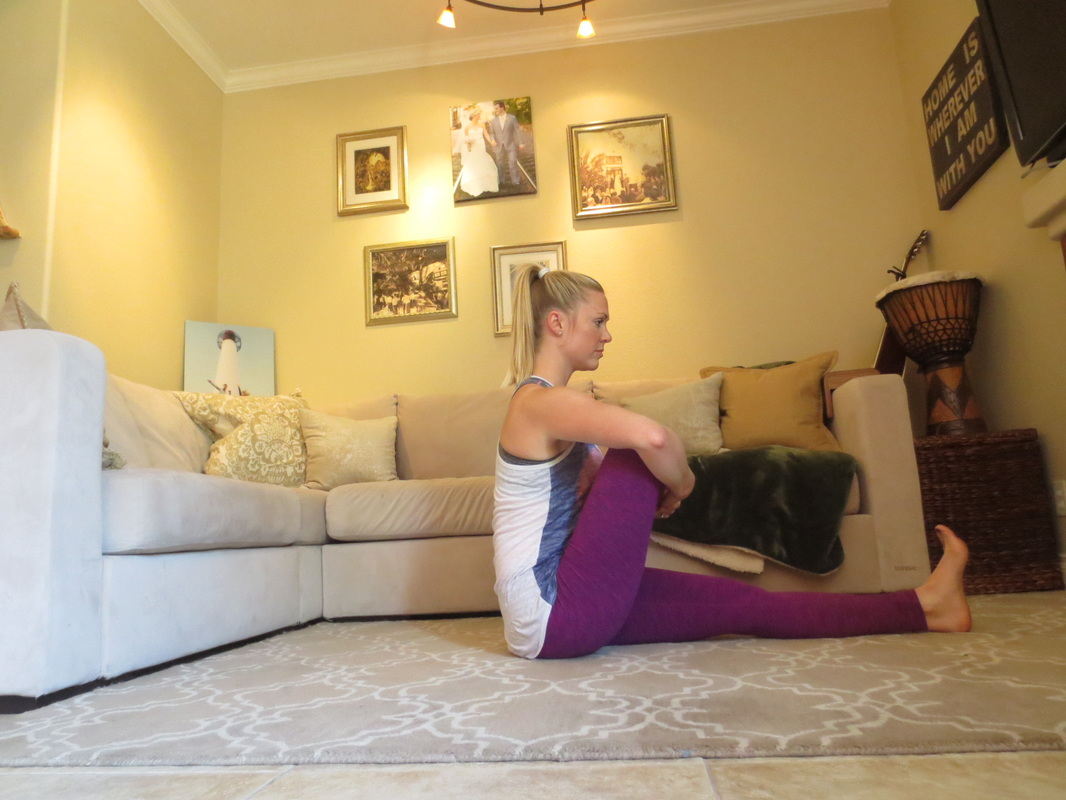
This is one of my favorite postures. It takes a lot of strength AND flexibility, so be gentle with yourself when attempting it for the first time. In order to prepare your body for this posture, I recommend warming up with Surya Namaskar A (Sun Salutation A) at least 3 times, or until you feel your muscles are warm and expanded. Here is a wonderful video of Denise Antonini from You and the Mat, instructing how to move through Surya Namaskar A: http://www.youandthemat.com/yoga-studio/videos/smartflow/ From downward facing dog, or Adho Mukha Svanasana, kick your right leg behind you to 3 legged dog. Slowly pull your knee forward and gently step your right foot to the outer edge of your mat, on the outside of your right hand. Lower your back knee to the ground. Carefully lower yourself to your forearms, allowing your front knee to slightly drop to the right side, keeping the outer edge of your right foot on the ground. Hold for a number of breaths here in Lizard pose. Bring yourself back through down dog and repeat on the left side. 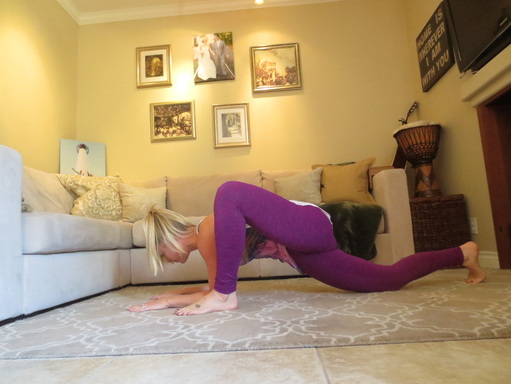 Lizard pose left side As we prepare the wrists and shoulders for our arm balance, I like to take a side plank to also fire up the oblique muscles (side of your abdomen) because you use them in Astavakrasana to help lift your hips off the ground. In side plank, make sure your shoulders are stacked and you lift your hips to help your body remain in a plank pose. Make sure to stay balanced by taking vasisthasana on both sides. 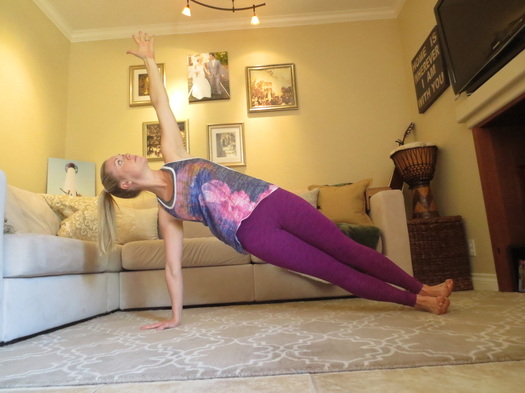 Side plank: Vasisthasana Next, take a seat and lengthen your left leg in front of you. Bend your right knee and lift your shin so it becomes parallel with the floor. Cradle your shin with your arms and gently rock side to side stretching the hip flexor. Switch legs and do the same on the other side.
This is where it starts to get interesting... Bend your right leg on the floor. Lean forward slightly and try to wrap the left leg around your shoulder. 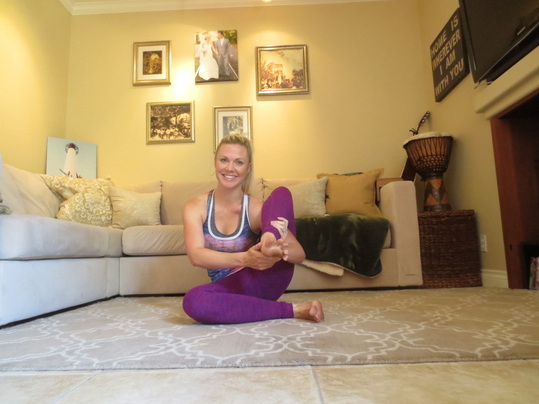 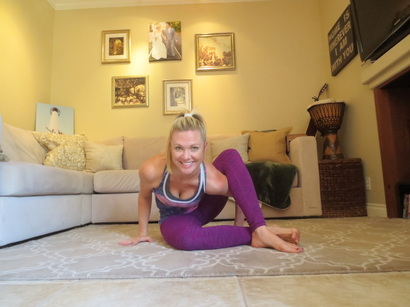 Lean forward even more keeping your spine long and place your hands on the floor. Keep your elbows tucked in as you do in chaturanga dandasana and don't allow your shoulder to come lower than your elbow. Cross your feet at the ankles. Last step: squeeze your thighs together as you kick your crossed feet out to the side and lift your hips off the ground. Voila! Have fun and be mindful of your body. If this posture doesn't feel good, listen to your body and back off. Namaste friends! 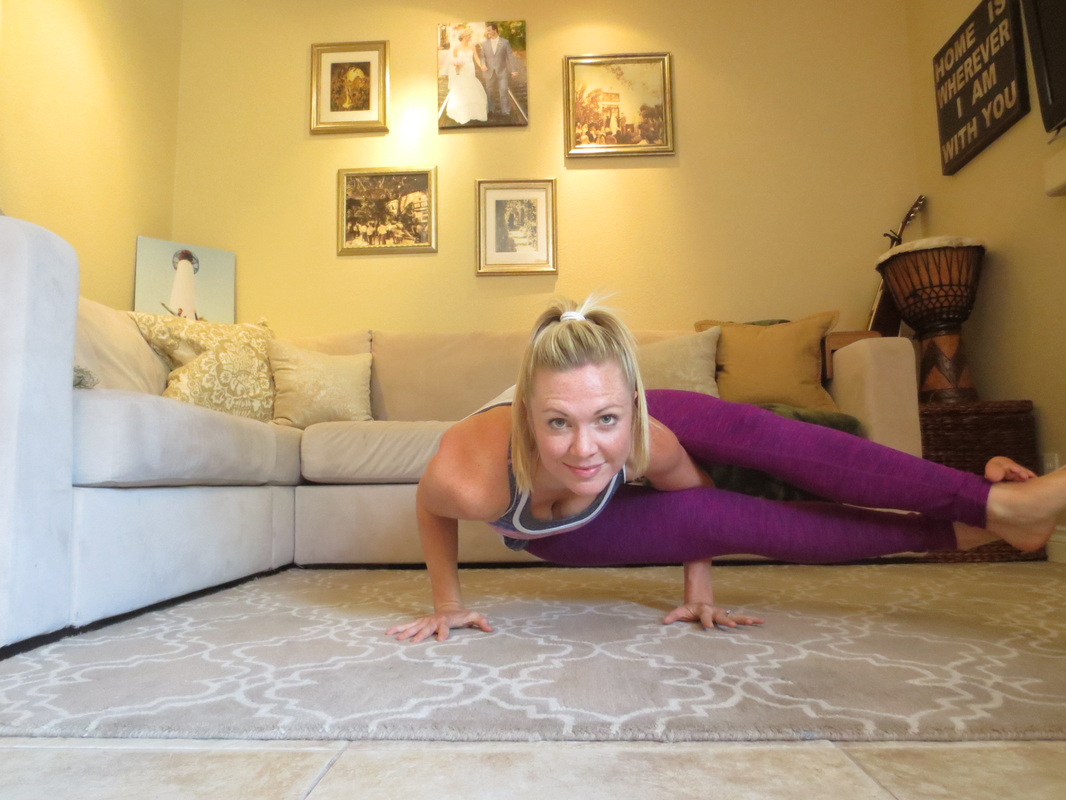  P.S. Don't forget to laugh when you fall down... ;)
0 Comments
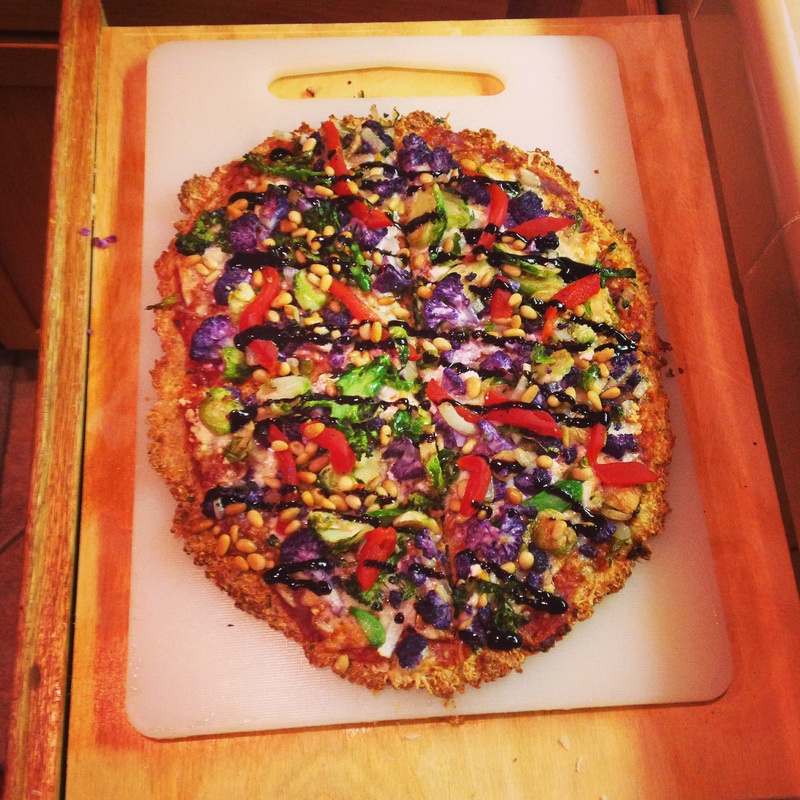 I have to say, I was skeptical this would taste good... And I am happy to announce that it tastes GREAT! I had seen a few recipes for quinoa pizza crust on Pinterest that looked appealing but I couldn't imagine the texture coming out like a doughy, full of yummy bad stuff, pizza crust. I tried it anyways, combined a few recipes and put my own little twist on it. This is honestly one of the best pizzas I have ever had, and it was made with all kinds of healthy, guilt free ingredients. Although the crust is gluten free, I did use a small amount of dairy. I believe you could get away without the cheese, but I have not tried it myself. Here you go! I hope you enjoy it as much as we did!
Quinoa pizza crust:
Rinse and cook the quinoa according to package. I like to use a rice cooker because it always makes the quinoa fluffy and not mushy. Set aside and let cool completely. Whisk the oil, spices, and eggs. While whisking, slowly add the baking powder until there are no more lumps. Pour the egg mixture into the quinoa and mix thoroughly. Cover a baking sheet with parchment paper and flatten your "dough" onto the parchment paper until it is about 1/2 inch thick all over. Place in a preheated 425 degree oven for approximately 20 minutes or until the edges get slightly browned. Toppings:
While the crust is baking, lightly sauté the veggies in a small amount of Extra Virgin Olive Oil to slightly soften them (about 3 minutes). Once the crust comes out of the oven, let it cool for a few minutes then spread your pizza sauce. Lightly sprinkle your cheese (I used very little cheese to keep this meal a little healthier- about 1/4 cup mozzerella and 3 tbsp. of goat cheese). Pile on the veggies! Sprinkle your pine nuts on and place back in the oven for 5 minutes or until it looks done to you. Drizzle a little balsamic glaze on top and enjoy! Obviously, you can use any toppings you like. In order to keep this meal healthy, make sure to use lots of veggies and lots of color! Stay light with the cheese, oil, and nuts (just enough to give it some flavor). Remember that healthy CAN be delicious. Bon appetite! |
CHECK OUT THE NEW WEBSITE WELLALIGNEDWOMAN.COM
 RSS Feed
